Easy DIY Vintage Map Paper Roses: Step-by-Step Craft
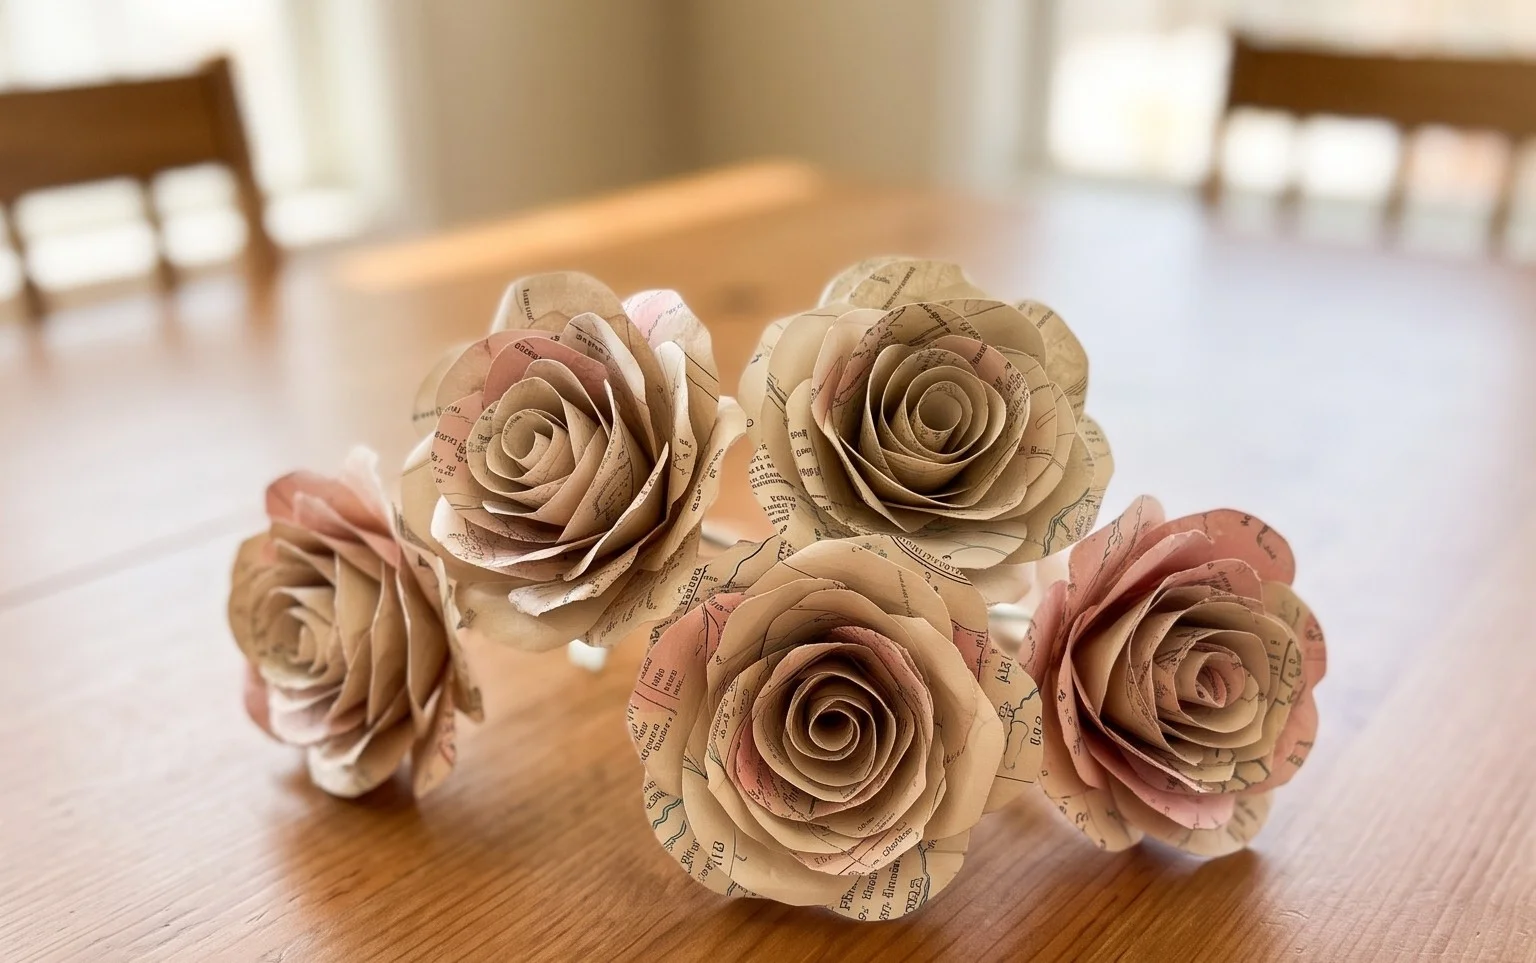
Make Vintage Paper Map Roses with this easy DIY tutorial and let’s bring a touch of old-world charm to your crafting! Imagine delicate, layered petals unfurling, just like a real rose, but crafted from the fascinating textures and faded hues of vintage maps. These beautiful blooms are perfect for adding a unique, nostalgic touch to any project. Whether you’re a complete beginner looking for a rewarding craft, searching for a sweet activity to do with kids, or need a heartfelt handmade gift, these map roses are a fantastic choice. You’ll be able to create your first lovely rose in about 15-20 minutes! In this tutorial, I’ll guide you step-by-step through the simple folding techniques, showing you how to transform a flat piece of map into a stunning three-dimensional floral masterpiece. Let’s get folding!
Make Vintage Paper Map Roses – Easy DIY Tutorial
Hello, fellow crafters! Today, we’re going to embark on a delightful journey to create beautiful, vintage-inspired paper roses using old maps. These aren’t just any paper flowers; they carry a touch of history and adventure in their petals. They’re surprisingly simple to make, making them a perfect project for beginners, and the result is truly charming. Whether you’re looking for a unique decoration for your home, a special gift, or just a fun way to upcycle old materials, these map roses are sure to impress.
I’ve always been drawn to the romance of vintage maps – the faded colours, the intricate details, the promise of faraway lands. Transforming them into delicate roses feels like giving them a second life, a new story to tell. And the best part? You don’t need any fancy tools or expensive supplies. Just a bit of patience and a willingness to fold!
Choosing Your Paper: The Foundation of Your Rose
The paper you choose is crucial to the overall look and feel of your vintage map roses. For this project, we’re specifically using old maps. Here’s what to consider:
- Type of Paper: The ideal paper is a standard map paper. This is usually a slightly heavier weight than copier paper, with a bit of texture and a matte finish. It’s not glossy, which allows the ink to look beautifully aged. If you can’t find old maps, don’t despair! You can achieve a similar vintage effect with other papers.
- Weight: Aim for a paper that’s between 80gsm and 120gsm (grams per square meter). If you can’t find the exact weight, think of it as being a bit sturdier than typical printer paper but not as stiff as cardstock. This weight allows the paper to hold its shape well when folded and shaped, without becoming too difficult to manipulate.
- Size: For our basic rose, a square piece of paper is ideal. A good starting size for beginners is 6 inches by 6 inches (approximately 15cm x 15cm). This size is manageable for folding and results in a rose that’s a good tabletop size. You can experiment with larger or smaller squares later.
- Single or Double Sided: This is where the vintage map comes into its own! Ideally, you’ll use a map that has interesting colours and details on one side and perhaps a plain, slightly aged background on the other. This contrast can create a lovely depth to your rose petals. If your map is coloured on both sides, that’s perfectly fine too! You’ll just have a more vibrant rose. For practice, if you have plain coloured paper with a vintage look, that will also work beautifully.
The Base Folds: Setting Up for Success
Before we dive into the rose itself, we need to prepare our paper with some essential base folds. These folds help to create the structure and guide our subsequent steps. Precision here will make the rest of the process much smoother.
Let’s start with a perfectly square piece of paper. Place your paper with the side you want to be the *inside* of your rose facing up. For instance, if you want the detailed map side to be the outside of your finished rose, place the plainer side facing you.
- Diagonal Fold: Take the bottom-left corner of your square and bring it up to meet the top-right corner. Crease firmly along the diagonal line where the two edges meet. Then, unfold the paper.
- Second Diagonal Fold: Now, take the bottom-right corner and bring it up to meet the top-left corner. Crease firmly again along this new diagonal line. Unfold the paper. You should now have two diagonal creases forming an ‘X’ on your paper.
- Horizontal Fold: Flip the paper over so the side with the ‘X’ creases is facing down. Take the bottom edge of the square and bring it up to meet the top edge. Crease firmly along the horizontal line. Unfold the paper.
- Vertical Fold: With the horizontal crease now visible, take the left edge of the square and bring it over to meet the right edge. Crease firmly along this vertical line. Unfold the paper.
At this point, your paper should have a pattern of creases that looks like a starburst or a plus sign with diagonals. These creases will help us collapse the paper into a smaller shape in the next step.
The Fold Sequence: Bringing Your Rose to Life
Now, let’s get folding! We’re going to collapse our creased square into a smaller square, which will form the base of our rose petals.
- Collapsing into a Waterbomb Base: This is often the trickiest part for beginners, but with patience, you’ll get it! Hold your paper with the side you want on the *outside* of your rose facing up (so the side you want on the inside is facing you). The creases you’ve made should be visible. Gently push the left and right edges inwards towards the centre, along the vertical crease. As you do this, the top and bottom points should naturally come together. You are essentially using the creases to ‘collapse’ the square into a triangle. The two side flaps will tuck underneath. The end result should be a smaller, double-layered square with two flaps on each side, with the open edges at the bottom. This is called a waterbomb base.
- Folding Up the Petal Flaps: Turn the waterbomb base so the open point is facing away from you. You’ll see two triangular flaps on the top layer, one on the left and one on the right. Take the right flap and fold its outer edge inwards to meet the centre vertical crease. Crease firmly.
- Repeat for the Left Flap: Now, take the left flap and fold its outer edge inwards to meet the centre vertical crease. Crease firmly. You should now have two folded-in triangles on the top layer, creating a kite shape.
- Folding Up the Bottom Point: Look at the bottom point of your kite shape. There’s a single layer of paper here. Fold this point upwards, so it just covers the base of the two flaps you just folded in. Crease firmly.
- Folding in Half: Now, fold the entire kite shape in half by bringing the right side over to the left side. Crease firmly. You should now have a long, narrow shape with a pointed end.
- Repeat on the Other Side: Flip the entire model over. You’ll see the same kite shape on the other side. Repeat steps 2 through 5 on this side: Fold the right flap to the centre, fold the left flap to the centre, fold the bottom point up, and then fold the whole thing in half.
- Opening Up the Rose: You should now have a long, pointed piece that looks like a folded packet. Carefully hold the model with the pointed end facing upwards. Gently pull apart the layers at the pointed end. You’ll see several ‘petals’ that you can unfurl. Start by gently pulling each of these layers outwards and upwards, shaping them to create the rose petals. Use your fingers to gently curl the edges outwards.
- The Centre: To form the centre of the rose, gently twist the very tip of the pointed end. This will help to create a more compact and realistic centre.
Where Beginners Often Go Wrong (And How to Avoid It!)
Don’t worry if your first few roses aren’t perfect. Origami is all about practice and learning! Here are a couple of common pitfalls and how to steer clear of them:
- Creasing Too Lightly: In steps like collapsing the waterbomb base or folding the petal flaps, it’s really important to make your creases sharp and firm. Use your fingernail or a bone folder if you have one to really press down along each fold. Light creases will make the paper feel flimsy and the folds won’t hold their shape, leading to a floppy rose.
- Forcing the Waterbomb Base Collapse: When collapsing the square into the waterbomb base (step 1 in the sequence), it can feel a bit resistant. Don’t force it! Instead, gently guide the paper. The existing creases are your guides. If it feels like you’re tearing the paper, stop, check your creases, and try again. The paper needs to ‘want’ to fold along those lines. Sometimes, a slight adjustment or a firmer crease on one of the diagonal folds can help.
- Not Shaping the Petals Enough: Once you’ve unfurled the petals, resist the urge to leave them flat. The beauty of a rose is its rounded, delicate petals. Gently curl each petal outwards, and even give the tips a little pinch or curl. This is where the character of your rose really comes to life. Don’t be afraid to be a little hands-on with it!
Varying Your Map Roses: Endless Possibilities
Once you’ve mastered the basic map rose, you can have so much fun experimenting! Here are some ways to change things up:
- Size: Simply start with a larger or smaller square piece of paper. A 3-inch square will make a tiny, delicate rose, perfect for embellishments, while a 10-inch square will give you a grand statement rose.
- Paper Pattern and Colour: While we’re focusing on maps, the principle applies to any paper with an interesting pattern. Look for old book pages, sheet music, or even patterned wrapping paper with a vintage feel. The colours of your map will greatly influence the final look. A sepia-toned map will give you a classic, muted rose, while a map with vibrant blues and greens can create a more striking effect.
- Double-Sided Effects: If your map has very different colours on each side, play with which side you start facing up. This can lead to surprising and beautiful petal combinations.
Displaying and Gifting Your Map Roses
These vintage map roses are so versatile!
- Bouquets: Make a whole bouquet of them! You can arrange them in a vintage vase, a jam jar, or even tie them together with twine for a rustic display.
- Wreaths: Glue them onto a wreath form for a stunning wall hanging.
- Gift Toppers: Add a single, beautiful rose to the top of a gift for an extra special touch.
- Table Decorations: Scatter them on a table for a dinner party or use them as individual place card holders (you can tuck a small card behind a petal).
- Craft Projects: Incorporate them into scrapbooks, journals, or mixed-media art.
- Gifting: They make wonderful handmade gifts for friends and family. They’re particularly popular for birthdays, anniversaries, or as a ‘thinking of you’ present. Present a single rose or a small bunch in a clear cellophane bag tied with ribbon, or gift a larger arrangement in a decorative container.
I hope you’ve enjoyed this tutorial! Making these vintage map roses is a truly rewarding experience, transforming simple paper into something quite magical. So, gather your maps, get folding, and happy crafting!
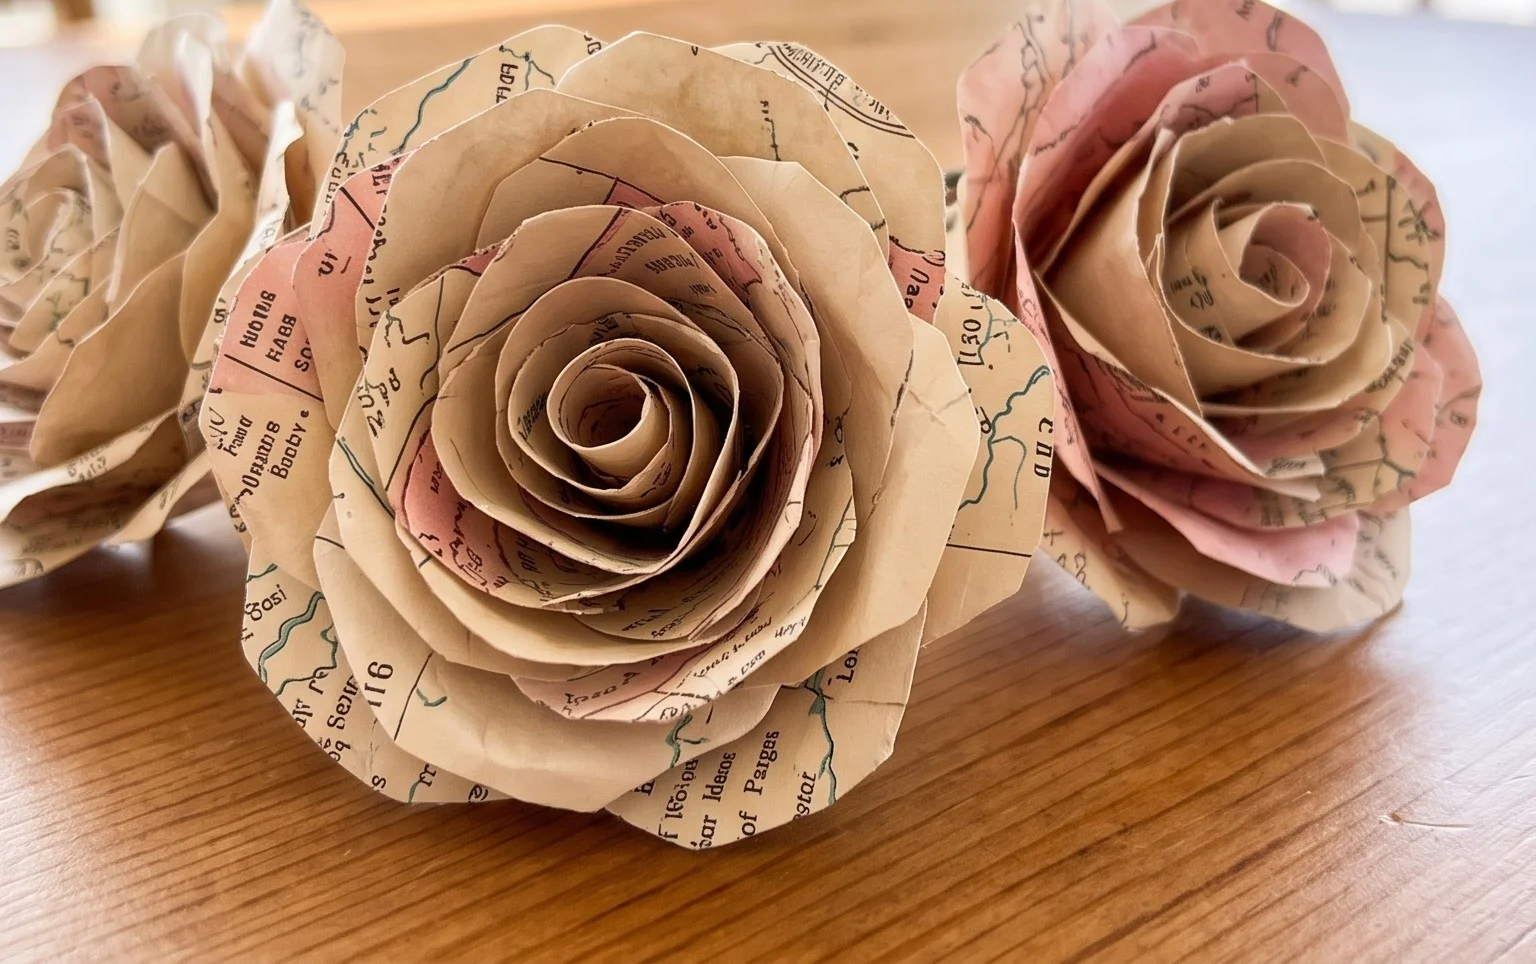
Conclusion
Congratulations on making your very own vintage paper map roses! We hope you had a wonderful time folding. Don’t worry if your first attempt isn’t perfect – every origami journey begins with practice, and you’ll get even better with each new creation. We’d love to see your beautiful finished models! Share your handywork with us and inspire others. For your next adventure, why not try making these roses in different sizes or experiment with using pages from old books for a unique texture? There are so many more delightful paper projects waiting for you to discover. Happy folding!