Paper rose tutorials await you! Get ready to transform simple sheets of paper into a breathtaking bouquet of lifelike roses, each with delicate petals unfurling just like the real thing. Whether you’re a complete beginner looking for a relaxing new hobby, a crafty kid eager to create beautiful gifts, or someone wanting to add a touch of handmade charm to your home decor, these tutorials are perfect for you. Most models can be completed in under an hour, making them ideal for an afternoon project.
In this collection, you’ll discover over 10 distinct ways to fold stunning paper roses. I’ll guide you through everything, from basic folds to more intricate designs, and the best part? I’m providing FREE templates to help you get started. You’ll learn how to achieve realistic textures, create different sizes, and even assemble your roses into a beautiful arrangement. Let’s get folding and bring some floral beauty to life!
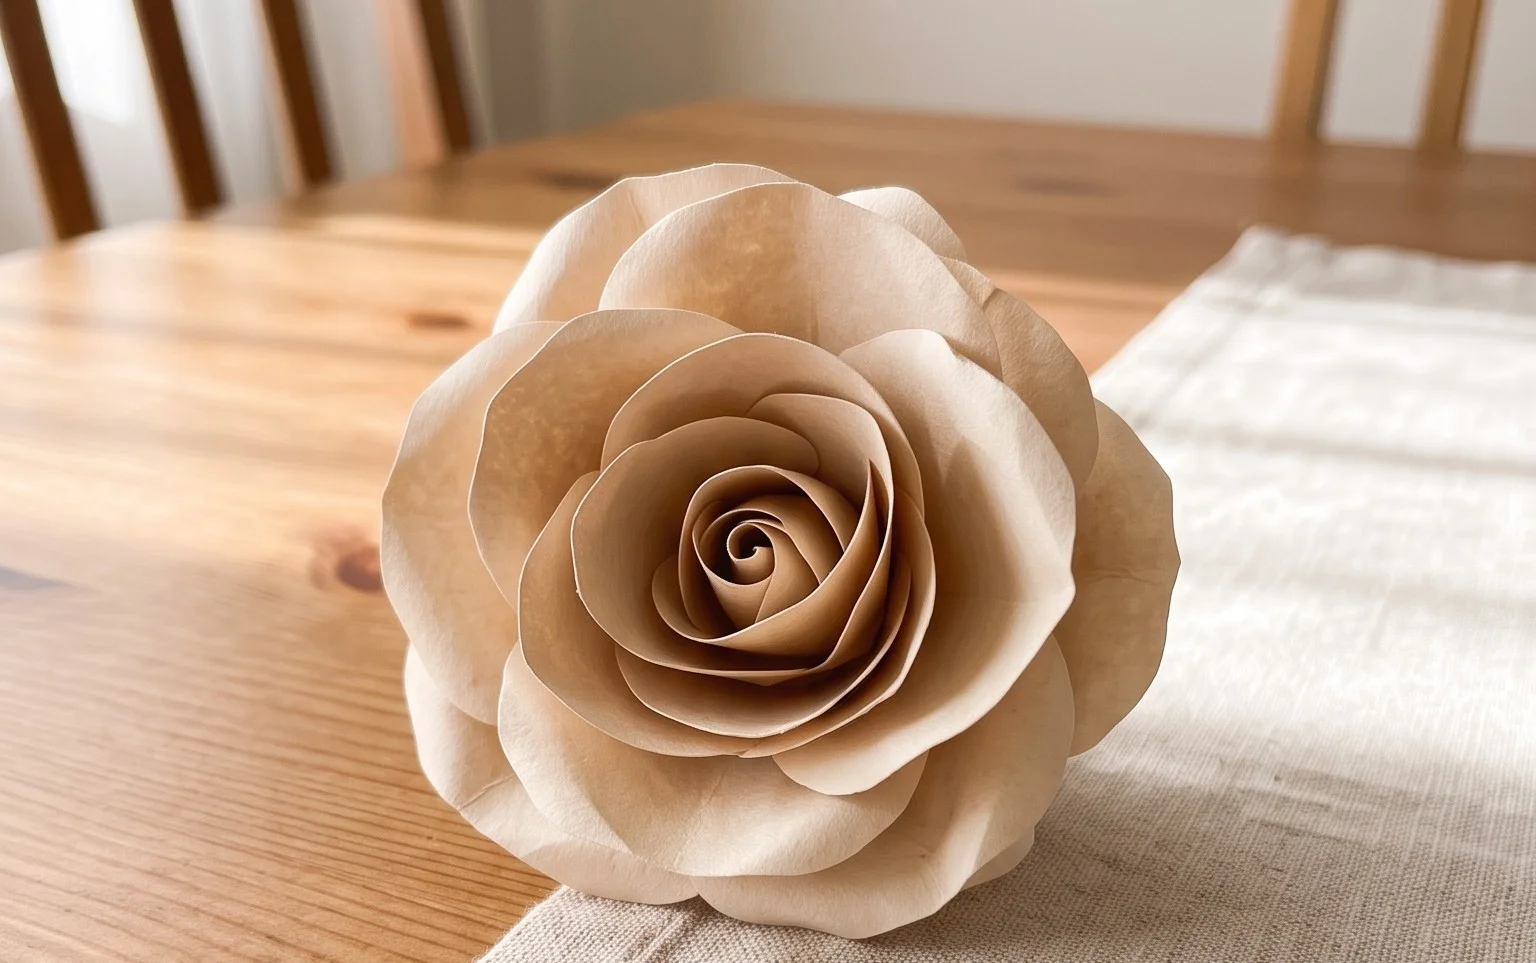
Unfolding the Beauty: Your Ultimate Guide to Making Origami Roses
Hello there, fellow paper enthusiasts! Are you ready to embark on a journey into the delicate and captivating world of origami roses? I know, the idea of transforming a flat sheet of paper into a bloom as intricate as a real rose can seem daunting. But trust me, with a little patience and this comprehensive guide, you’ll be creating beautiful paper roses in no time. We’re going to explore over ten different ways to make these floral wonders, all with free templates readily available, and I’ll walk you through each step in plain, easy-to-understand language. We’ll delve into the nitty-gritty of paper selection, master essential folds, troubleshoot common pitfalls, and even get creative with variations and display ideas. So, grab your favorite paper, and let’s get folding!
Choosing Your Perfect Paper: The Foundation of a Beautiful Rose
The paper you choose is more than just a starting point; it’s the very essence of your origami rose. Different papers will yield vastly different results, so understanding your options is key.
Paper Type and Weight
For origami, especially for more intricate models like roses, you generally want paper that is thin enough to fold easily without becoming bulky, yet sturdy enough to hold its shape.
* Origami paper is ideal. It’s specifically designed for folding, usually thinner than printer paper, and often comes in vibrant colors. It typically has a weight of around 60-80 gsm (grams per square meter).
* Cardstock is usually too thick for most rose models, making sharp creases difficult and the final model stiff and bulky.
* Regular printer paper can work in a pinch, but it might be a bit too stiff and could show creases more prominently. If you use printer paper, I’d recommend a lighter weight if you can find it, around 70-75 gsm.
Paper Size
The size of your paper directly impacts the size of your finished rose.
* For practice, I recommend starting with larger squares, like 6 inches (15cm) or even 8 inches (20cm). This gives you more room to maneuver and makes it easier to see the folds.
* Smaller squares, like 3 or 4 inches (7.5-10cm), are great for creating a bouquet or for more detailed, miniature roses once you’re comfortable.
Single vs. Double-Sided Paper
This is where personal preference really comes into play and can significantly impact the visual appeal of your rose.
* Single-sided paper has a colored side and a white side. This is excellent for models where you want a solid color on the outside of the petals. The white side will be hidden within the folds.
* Double-sided paper has color on both sides. This can create a beautiful effect where the edges of the petals show a contrasting color, adding depth and realism. Some origami papers come with different colors on each side, while others have the same color repeated. Experimentation here is fun!
Mastering the Base Folds: Your Origami Toolkit
Before we dive into specific rose models, let’s get familiar with a few fundamental folds that you’ll encounter repeatedly. Practicing these will make all your subsequent folding much smoother.
The Valley Fold and the Mountain Fold
These are the two most basic folds in origami.
* A **valley fold** is made when you bring two edges or corners together, and the crease forms a ‘V’ shape, like a valley. Imagine folding a piece of paper in half towards you.
* A **mountain fold** is the opposite. You create a crease that pushes away from you, forming an inverted ‘V’ shape, like a mountain ridge. Imagine folding a piece of paper in half away from you.
Making Clean Folds
Clean, crisp folds are the hallmark of good origami. Here’s how to achieve them:
* **Align meticulously.** Before making any crease, ensure your edges and corners meet precisely. Don’t rush this!
* **Use your fingernail or a bone folder.** Once aligned, run your fingernail or a specialized bone folder along the intended crease line. Apply firm, even pressure. This will create a sharp, defined line that will hold its shape.
* **Unfold and refold if necessary.** If a fold isn’t perfectly straight or aligned, gently unfold and try again. It’s better to have a perfect crease than a slightly wobbly one.
The Tulip Rose: A Beginner-Friendly Classic
Let’s start with a wonderfully accessible model, the Tulip Rose. It’s relatively simple and yields a charming result. This model typically uses a square of paper.
* **Step 1: Initial Diagonal Fold.** Place your square of paper in front of you with the colored side facing down if using single-sided paper. Bring the bottom corner up to meet the top corner, forming a triangle. Crease firmly along the bottom edge. Now, unfold the paper.
* **Step 2: Second Diagonal Fold.** Bring the left corner across to meet the right corner, forming another triangle. Crease firmly along the left edge. Unfold the paper. You should now have an ‘X’ crease pattern on your paper.
* **Step 3: Horizontal and Vertical Folds.** Flip the paper over so the colored side is facing up. Bring the bottom edge up to meet the top edge, forming a rectangle. Crease firmly along the middle horizontal line. Unfold. Now, bring the left edge over to meet the right edge, forming another rectangle. Crease firmly along the middle vertical line. Unfold. You should now have a ‘+’ crease pattern on the colored side.
* **Step 4: The Waterbomb Base.** This is where the magic happens. With the colored side still up, gently push the left and right sides inwards along the vertical creases. As you push inwards, the top and bottom edges will naturally come together, collapsing the paper into a smaller square. This is called the Waterbomb Base. Make sure the open points are at the bottom.
* **Step 5: Petal Folds (Part 1).** Take one of the front flaps. Bring the bottom left corner of this flap up to meet the top point of the base. Crease firmly.
* **Step 6: Petal Folds (Part 2).** Now, bring the bottom right corner of that same flap up to meet the top point. Crease firmly. You should now have a kite shape on that flap.
* **Step 7: Repeat on the Other Side.** Flip the entire model over. Repeat Steps 5 and 6 on the other side. You now have four kite shapes.
* **Step 8: Folding the Top Points.** Take one of the top points of the kite shapes (the ones that were originally corners of the paper). Fold this point down so the tip touches the bottom point of the kite. Crease firmly.
* **Step 9: Repeat Folding Top Points.** Repeat Step 8 for all four top points.
* **Step 10: Petal Separation.** Now, carefully peel open the front flap of one of the kite shapes. You should see a pocket. Gently tuck the pointed flap you just folded down into this pocket. This secures the petal.
* **Step 11: Continue Petal Separation.** Repeat Step 10 for all four sections. You’ll start to see the rose shape emerge.
* **Step 12: Shaping the Rose.** Gently curl the petals outwards by running your finger around the edge of each petal. This gives it a more natural, bloomed look.
Common Beginner Pitfalls and How to Avoid Them
Even with clear instructions, it’s easy to stumble a bit when you’re starting. Here are a few common traps and how to sidestep them:
* **Imprecise Alignments:** As I mentioned before, this is the number one culprit for wonky origami.
* **How to avoid:** Slow down. Take an extra moment to ensure corners are perfectly aligned before creasing. Look from different angles to check. Don’t be afraid to unfold and readjust if it’s not quite right.
* **Flimsy Creases:** If your creases aren’t sharp, the model won’t hold its shape and can look messy.
* **How to avoid:** Really commit to your creases. Use your fingernail or a bone folder with firm pressure. Ensure the paper is lying flat against the surface as you crease.
* **Tearing the Paper:** Sometimes, especially with thinner papers or when trying to force a fold, you might tear the paper.
* **How to avoid:** Be gentle. Origami is about guiding the paper, not forcing it. If a fold feels resistant, check your alignment or if you’ve made a previous fold incorrectly. Understand the limitations of your paper.
Beyond the Tulip: Exploring More Rose Designs
The Tulip Rose is just the beginning! The world of origami roses is vast and varied. Here are just a few of the types you can explore, often with readily available free templates online:
* **Kawasaki Rose:** This is perhaps the most famous and intricate origami rose. It’s more challenging and involves a spiraling fold. There are many variations of the Kawasaki rose, each with its own charm.
* **Modular Roses:** These are made from multiple, identical pieces of paper folded separately and then assembled to form the rose. They often have a layered, full appearance.
* **Simple Roses (Folded from a Spiral):** Some simpler rose designs involve folding a spiral and then twisting it into a rose shape. These are often quicker to make.
* **Origami Rose Boxes:** Combining a rose with a small box, perfect for gifting.
To find templates for these and many other variations, a quick online search for “origami rose template free” will yield a treasure trove of diagrams and video tutorials.
Adding Your Personal Touch: Variations to Try
Once you’ve mastered the basic folds, it’s time to get creative!
* **Size:** Simply start with a larger or smaller square of paper. Larger paper will result in a larger rose, and smaller paper in a smaller one.
* **Paper Pattern:** Don’t limit yourself to solid colors!
* **Floral patterns:** These can enhance the natural look of the rose.
* **Metallic papers:** For a more opulent feel.
* **Textured papers:** Adding a tactile dimension.
* **Hand-painted papers:** Create truly unique and artistic roses.
* **Color Combinations:**
* **Single-sided paper:** As discussed, use the colored side for the exterior petals.
* **Double-sided paper:** Experiment with papers that have a different color on each side. This can create a beautiful gradient effect on the petals.
* **Ombre papers:** Papers that fade from one color to another can create stunning, natural-looking roses.
* **Coloring your own paper:** Before you start folding, you can use watercolors, markers, or colored pencils to add your own patterns or color variations to plain paper.
Presenting Your Paper Petals: Display and Gifting Ideas
Your beautiful origami roses deserve to be showcased!
* **Bouquets:** The most obvious and classic choice! Arrange a collection of your roses in a vase. You can mix different sizes and colors for a vibrant display.
* **Single Stem Display:** Mount a single, perfect rose on a green pipe cleaner or a rolled piece of green paper to create a stem. Place it in a small bud vase.
* **Gifts:**
* **Card Decorations:** Glue a small rose onto a handmade card for a special touch.
* **Gift Toppers:** Use a rose instead of a bow on a gift box.
* **Table Centerpieces:** Arrange several roses in a decorative bowl or on a runner for a special occasion.
* **Jewelry:** Some smaller, intricate rose designs can be used to create earrings or pendants.
* **Home Decor:** Place them in small decorative jars or bowls around your home.
Creating origami roses is a wonderfully meditative and rewarding process. Each fold brings you closer to a beautiful, enduring bloom. Don’t be discouraged if your first few attempts aren’t perfect. The journey of learning origami is as important as the destination. Keep folding, keep experimenting, and most importantly, enjoy the process of bringing paper to life!
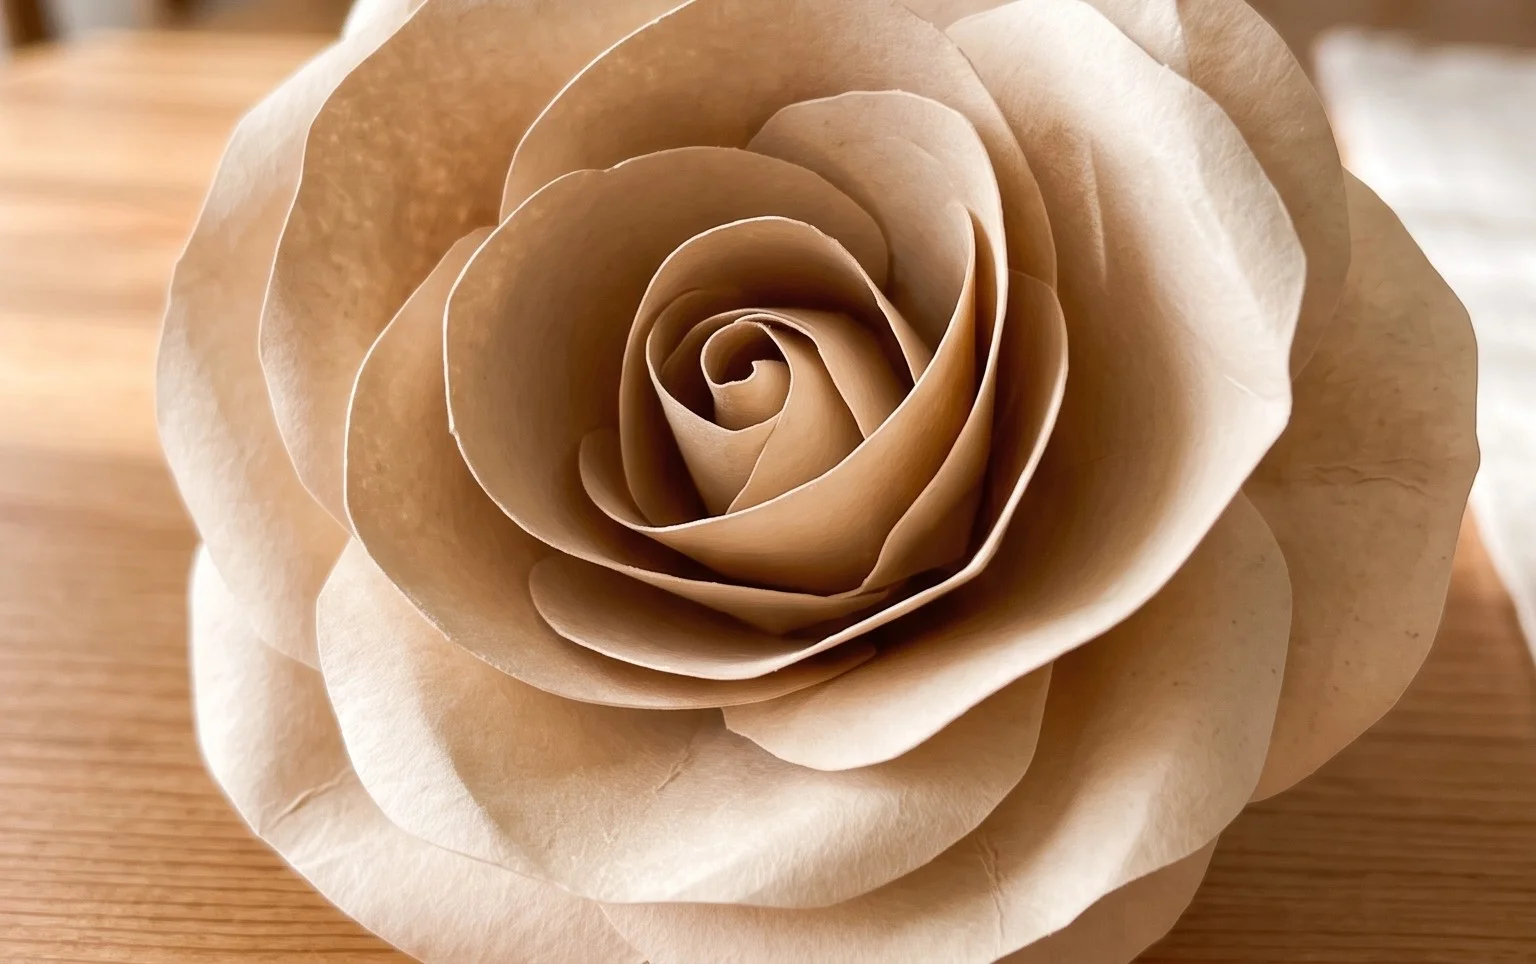
Conclusion
Congratulations on reaching the end of our paper rose tutorial! We hope you’ve enjoyed learning how to create these beautiful blossoms. Don’t be discouraged if your first attempt isn’t perfect; practice is key, and soon you’ll be folding stunning roses with ease. We’d love to see your finished creations, so feel free to share them with us! For your next folding adventure, why not try a different colored paper, or perhaps a slightly larger sheet for a more dramatic effect? There are so many more wonderful paper projects waiting for you to discover, so keep exploring and folding!