Tile Fire Art! Get ready to transform simple paper into something truly stunning. In this origami tutorial, we’re going to craft a captivating piece that looks like a miniature, folded tiled mosaic, with vibrant paper “tiles” creating a striking, fiery effect. It’s perfect for complete beginners and older kids, and makes a unique, handmade gift or a beautiful decorative accent for your home. You can expect this project to take around 30-45 minutes from start to finish. Throughout this step-by-step guide, you’ll learn essential folding techniques and discover how to cleverly combine them to achieve this incredible layered look. Let’s get folding!
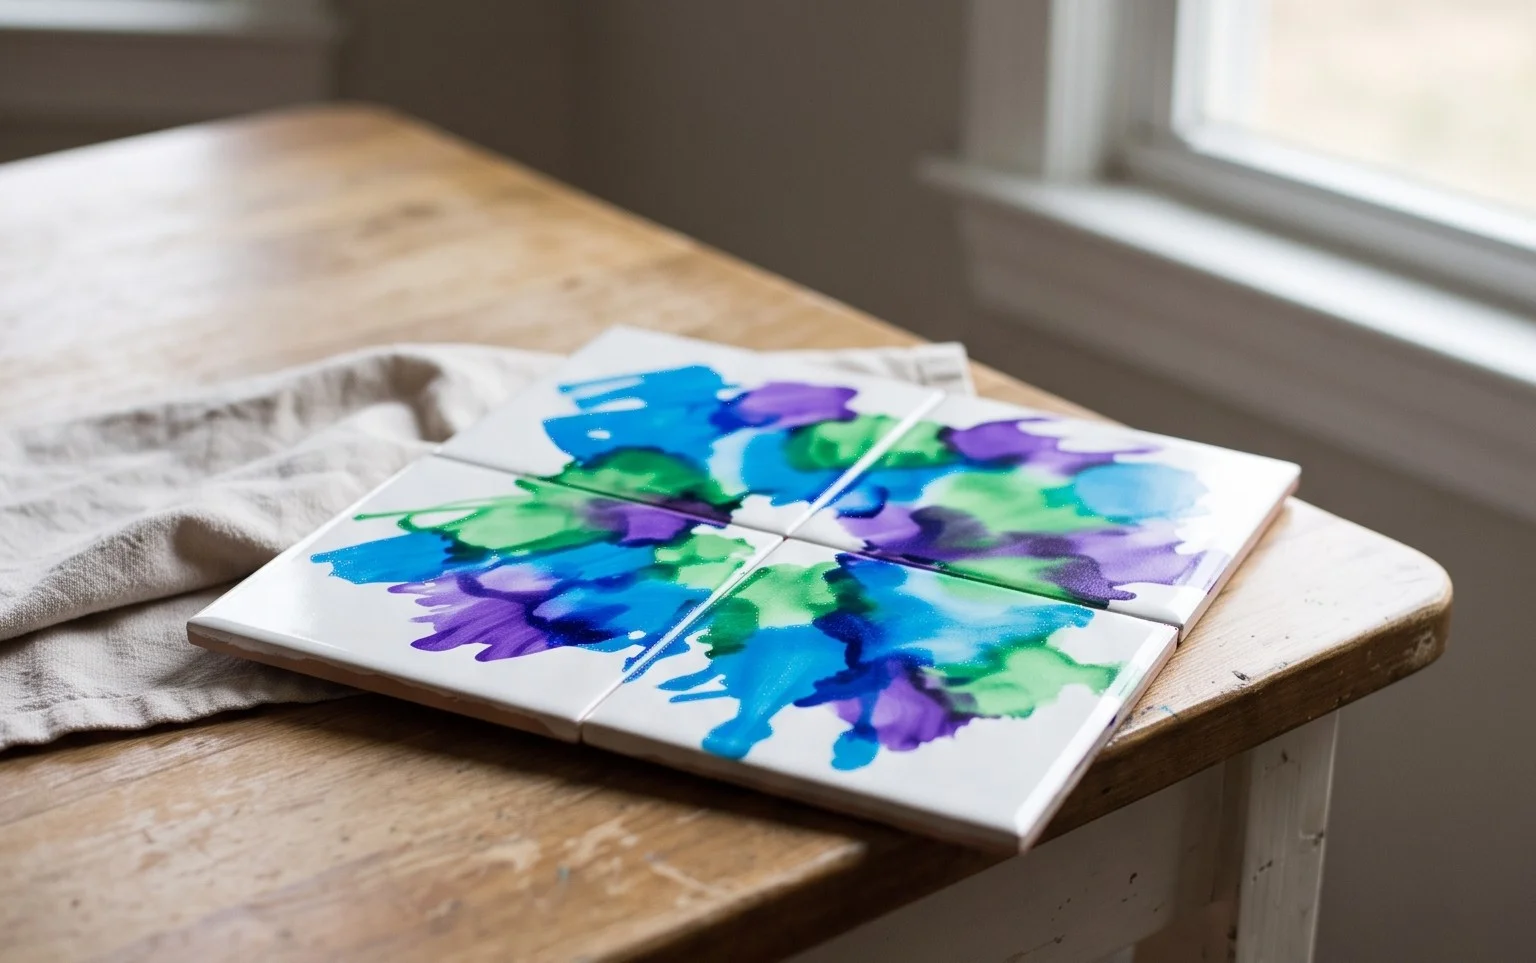
## Tile Fire Art: Crafting a Fiery Folded Delight
Welcome to the wonderful world of origami! Today, we’re going to embark on a creative journey to make “Tile Fire Art,” a captivating folded design that, with a little practice, will look like a beautiful, fiery mosaic. Don’t be intimidated by the name; this is a fantastic project for beginners, and I’ll guide you through every step with clear, easy-to-follow instructions. We’ll cover everything from choosing the perfect paper to displaying your finished masterpiece. So, let’s get folding!
### Choosing Your Paper: The Foundation of Your Fire
The paper you choose is crucial for the success and beauty of your Tile Fire Art. For this project, I highly recommend using traditional origami paper.
* **Type:** Origami paper, also known as kami, is ideal. It’s thin enough to allow for crisp folds and precise layering, but strong enough to hold its shape without tearing easily. You can also experiment with other papers, but be mindful of their weight.
* **Weight:** Standard origami paper is usually around 70-80 gsm (grams per square meter). This weight is perfect for achieving clean creases and a good density in the finished model. If the paper is too thick, it will be difficult to make precise folds, especially with multiple layers. If it’s too thin, it might feel flimsy and not hold its structure.
* **Size:** For your first attempt, I suggest starting with a square piece of origami paper that is at least 6 inches (15 cm) on each side. Larger squares are generally easier for beginners to handle and see their folds clearly. As you become more comfortable, you can certainly experiment with smaller sizes.
* **Single or Double Sided:** This is where you can really play with the “fire” effect!
* **Single-sided paper:** This type has a colored or patterned side and a white or plain side. When you fold, the white side will show through on some areas, creating a beautiful contrast. For a fiery look, I love using a red, orange, or yellow on one side and a darker color like black or deep red on the other. This allows you to strategically reveal the fiery colors.
* **Double-sided paper:** If you have paper that is colored on both sides, you can achieve a more uniform block of color. For a fiery look, choose two contrasting colors that work well together – perhaps a vibrant red and a bright orange, or a deep crimson and a golden yellow. You can also use a pattern on one side and a solid color on the other for a more intricate look.
### Base Folds: Building the Structure
Before we dive into the specific sequence, let’s get familiar with a few fundamental origami folds. Making these cleanly will make all the difference.
1. **Valley Fold:** This is the most common fold. Imagine you’re folding a piece of paper in half to create a “valley.” You bring one edge or corner to meet another edge or corner, and then crease firmly down the middle of the folded section. Always crease with your fingernail or a bone folder for sharp, defined lines.
2. **Mountain Fold:** This is the opposite of a valley fold. Imagine you’re creating a “mountain peak.” After making a valley fold, you would unfold it and then push the crease inwards, so it stands up like a mountain. For this specific model, we’ll primarily be using valley folds, but it’s good to know the distinction.
For Tile Fire Art, we’ll be making a lot of precise folds, so take your time and ensure each crease is sharp and accurate. Don’t rush!
### The Folding Sequence: Step-by-Step to Your Fiery Masterpiece
Let’s begin! Make sure your paper is positioned with the side you want to be the “fire” facing upwards, if you’re using single-sided paper. If you’re using double-sided paper, pick the color combination you want to dominate.
1. **Initial Diagonal Fold:** Take your square piece of paper and bring the bottom-left corner up to meet the top-right corner. Crease firmly along the diagonal line. Unfold the paper.
2. **Second Diagonal Fold:** Now, bring the bottom-right corner up to meet the top-left corner. Crease firmly along this diagonal line. Unfold the paper. You should now have an “X” creased across your square.
3. **Horizontal Fold:** Turn your paper so it looks like a diamond, with the point facing upwards. Bring the bottom point up to meet the top point. Crease firmly. Unfold.
4. **Vertical Fold:** Rotate your paper so the points are to the left and right. Bring the left point over to meet the right point. Crease firmly. Unfold. You now have a grid of creases on your paper.
5. **Bringing the Sides In (Preliminary Base):** This is a common base fold in origami. With the side you want to be the “fire” facing upwards, gently push the left and right edges of the paper inwards, towards the center. As you do this, the top and bottom points will naturally come together. Flatten the paper down into a smaller square. You should have four flaps at the bottom.
6. **Folding the Flaps Up:** Take the bottom-left flap and fold its bottom edge up to meet the center vertical crease. Crease firmly. Repeat with the bottom-right flap, folding its bottom edge to meet the center vertical crease. Your paper should now look like it has a point at the top and two angled edges at the bottom.
7. **Folding the Top Point Down:** Take the top point of the model and fold it down so its tip meets the point where the two angled edges you just folded end. Crease firmly.
8. **Opening and Reversing Folds:** This is a crucial step for the “tile” effect. Carefully open up the two flaps you folded upwards in step 6. Now, using the creases you just made as guides, fold these flaps *inwards* and *underneath* the top triangular section. This is called a “petal fold” or “squash fold” in some origami, but for this model, think of it as tucking them in. Flatten the paper down again. It will start to look a bit like a kite with two smaller points sticking out at the top.
9. **Folding the Side Points Inward:** Take the two small points that are sticking out at the top of your model and fold them inwards, so their tips meet in the center. Crease firmly.
10. **Folding in Half (Horizontally):** Now, fold the entire model in half, bringing the bottom edge up to meet the top edge. Crease firmly.
11. **Folding in Half Again (Vertically):** You now have a much smaller, thicker rectangle. Fold this rectangle in half vertically, bringing the left edge over to meet the right edge. Crease firmly.
12. **Revealing the Fire:** This is where the magic happens! Gently pull apart the two layers on the open side of the model. As you pull them apart, the “fire” colors will start to become visible in geometric sections, resembling tiles. You want to carefully flatten these sections as you pull them open, creating the tiled effect. You’re essentially opening up the layers you created earlier and allowing the contrasting colors to show through in a structured way. Aim to create sharp angles and distinct “tile” shapes.
### Common Pitfalls and How to Avoid Them
Even with the clearest instructions, sometimes things can go a little awry. Here are a couple of common places beginners tend to stumble with this model and how to steer clear of them:
* **Not Creasing Firmly Enough:** This is perhaps the most common mistake in all of origami. If your creases aren’t sharp, your folds won’t align precisely, and the final model will look messy and lose its definition.
* **How to avoid:** Be deliberate with your creasing. Use your fingernail, a bone folder, or even the edge of a ruler to press down firmly along every fold line. Ensure the paper is flat against the surface as you crease.
* **Difficulty with the Preliminary Base (Step 5) and Petal Folds (Step 8):** These can be a bit tricky to visualize without a diagram, especially step 8 where you’re tucking the folds inwards.
* **How to avoid:** For the preliminary base, think of collapsing the square by pushing the sides in. Imagine an accordion fold. For the petal fold (step 8), take your time. Unfold the flaps from step 6. Then, using those creases as a guide, carefully lift the flap and press the paper inwards along the existing creases, tucking it *under* the top triangle. It’s like closing a book, but you’re guiding the pages to lie flat in a specific way. If you get stuck, try unfolding and re-creasing the initial diagonal folds, as they are the foundation for this step. Don’t be afraid to gently manipulate the paper to find the natural creases.
### Varying Your Tile Fire Art: Endless Creative Possibilities
Once you’ve mastered the basic folds, the fun really begins with variations!
* **Size:** As mentioned, start with larger paper, but as you gain confidence, try smaller squares. Smaller sizes can create incredibly intricate and detailed patterns. You can also experiment with non-standard square sizes, though this might require more trial and error to get the proportions right.
* **Paper Pattern:** Don’t limit yourself to solid colors!
* **Geometric Patterns:** Papers with geometric prints (stripes, polka dots, chevrons) will create fascinating layered effects when folded.
* **Abstract Designs:** Papers with abstract art or textured patterns can give your Tile Fire Art a unique, artistic feel.
* **Themed Papers:** For seasonal projects, use patterned paper with a specific theme (e.g., Halloween, Christmas, floral).
* **Color Combinations:** This is where you truly get to play with the “fire” aesthetic.
* **Fiery Gradients:** Use papers that transition from yellow to orange to red on one side, and a dark contrasting color on the other.
* **Cool Contrasts:** For a more subdued or modern look, try blues and greens with a grey or white.
* **Metallic Accents:** Papers with metallic sheens or foils can add a touch of glamour and a “sparkling fire” effect.
### Displaying and Gifting Your Fiery Creation
Your finished Tile Fire Art is more than just a folded piece of paper; it’s a miniature work of art!
* **Wall Art:** Mount your folded creations onto a contrasting piece of cardstock or in a shadow box frame. Arrange them in a grid pattern for a stunning mosaic effect. This is especially impactful if you create several in different colors and sizes.
* **Table Centerpiece:** Arrange a collection of your Tile Fire Art pieces on a table for a vibrant and unique centerpiece for a dinner party or gathering.
* **Gifting:** These make wonderful, handmade gifts.
* **Card Embellishment:** Glue a smaller folded piece onto a handmade card for an extra special touch.
* **Gift Tags:** Use smaller folded pieces as unique gift tags.
* **Small Keepsake:** Present a single, beautifully folded piece in a small box as a thoughtful keepsake.
* **Mobile:** String several pieces together to create a beautiful, kinetic mobile that will catch the light and movement.
I hope you’ve enjoyed this detailed guide to creating your own Tile Fire Art. Remember, origami is a journey of practice and patience. Don’t be discouraged if your first attempt isn’t perfect. Keep folding, keep experimenting, and most importantly, have fun! I can’t wait to see what beautiful fiery creations you make!
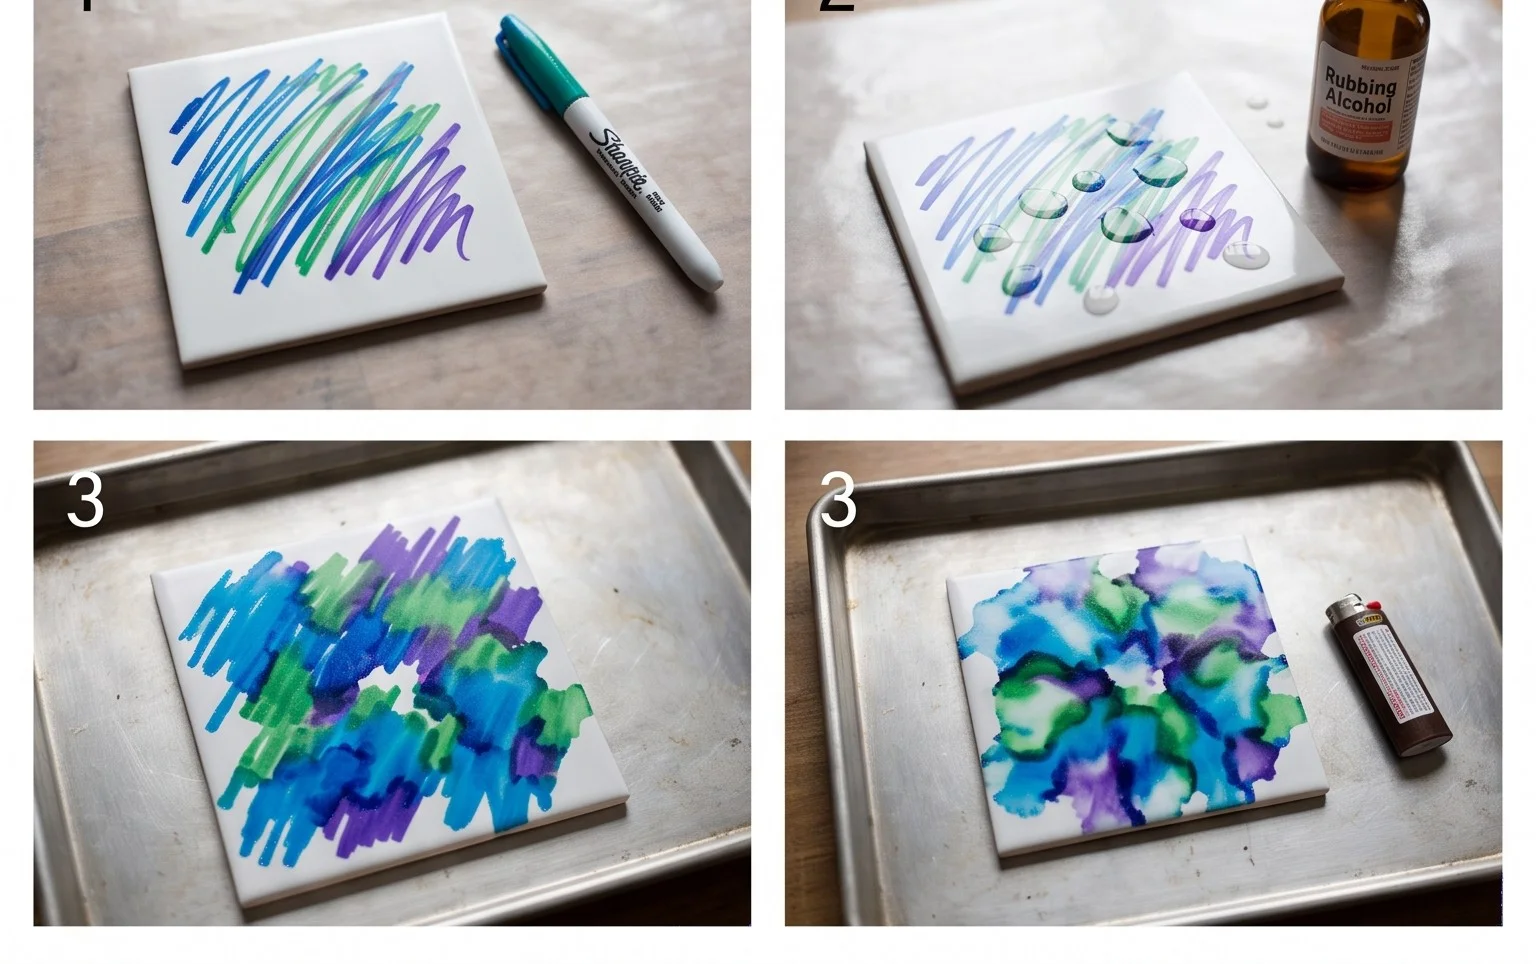
Conclusion
We hope you enjoyed creating your own Tile Fire Art! Don’t be discouraged if your first attempt isn’t perfect – every origami piece is a learning experience. The beauty of this craft is in the process. We encourage you to keep practicing and let your creativity flow. Once you’re happy with your finished model, we’d love for you to share it with us! For your next adventure, try a simple origami crane or a delightful paper flower. There are so many wonderful paper projects waiting for you to explore on our site.