Easy Origami Carnation: Step-by-Step Paper Craft
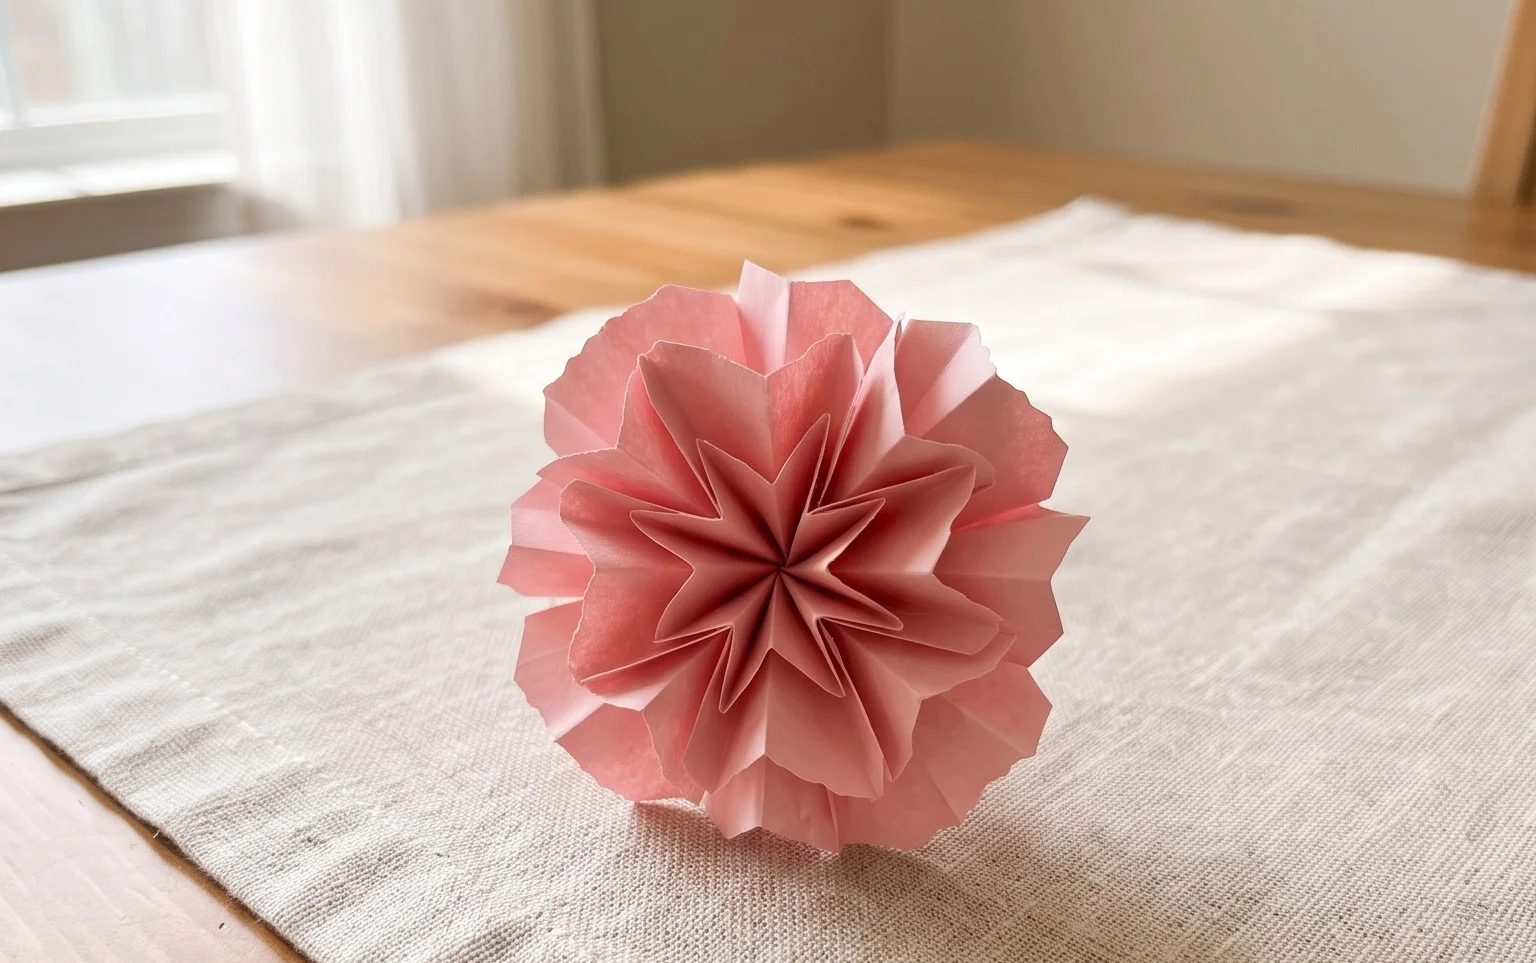
Origami Carnation: Step-by-Step Instructions. Get ready to fold your way to a beautiful, layered paper flower that truly resembles a blooming carnation! With its ruffled petals unfurling outwards, this charming creation is perfect for adding a touch of handmade beauty to any space. This tutorial is ideal for complete beginners and kids, and the finished carnations make wonderfully heartfelt gifts or delightful decorations for parties and home. You can expect to create your first origami carnation in about 10-15 minutes, and soon you’ll be making a whole bouquet! We’ll guide you through each simple fold, transforming a flat square of paper into a stunning, three-dimensional bloom. Let’s get our hands busy and start folding!
Origami Carnation: Step-by-Step Instructions
Hello there, origami enthusiast! I’m so excited to guide you through creating your very own beautiful origami carnation. This project is a wonderful way to bring a splash of vibrant color and delicate detail into your space, and it’s surprisingly achievable for beginners with a little patience and care. We’ll be going through every step together, explaining each fold in plain language so you can follow along without needing diagrams. Get ready to transform a simple sheet of paper into a blooming work of art!
Choosing Your Paper
The right paper can make a big difference in how your origami carnation turns out. For this particular model, I highly recommend using standard origami paper.
Origami paper is ideal because it’s specifically designed for folding. It’s thin enough to allow for crisp folds and multiple layers, but also strong enough to hold its shape. A good weight to aim for is around 70-80 gsm (grams per square meter). This is a common weight for origami paper and provides a nice balance of durability and foldability.
When it comes to size, 6-inch (15 cm) squares are a fantastic starting point for beginners. This size is manageable, allowing you to practice the folds without feeling overwhelmed by a large sheet or frustrated by tiny details on a small one. As you become more comfortable, you can experiment with larger or smaller squares.
For the carnation, single-sided paper can work perfectly fine. However, if you want that subtle hint of a different color peeking through the petals, or a more nuanced look, double-sided origami paper is an excellent choice. The traditional carnation has a bit of depth and variation in its colors, and double-sided paper can help achieve that effect. If you use single-sided paper, just be mindful of which side is facing up during certain steps to get the desired color distribution.
Understanding the Base Folds
Before we dive into the carnation itself, let’s make sure we’re comfortable with a couple of fundamental origami folds. Mastering these will make the entire process smoother.
The first is the “valley fold.” Imagine you’re making a crease that dips inward, like a valley. To make a clean valley fold, you align the edges or corners precisely, and then run your fingernail or a bone folder firmly along the crease. The paper should lie flat, with a sharp, defined line.
The second is the “mountain fold.” This is the opposite of a valley fold – the crease bulges outward, like a mountain peak. Often, mountain folds are made after a valley fold. You simply reverse the direction of the crease you just made.
For our carnation, we’ll primarily be using valley folds and then reversing some of them into mountain folds. Precision is key here. Take your time, align your edges and corners perfectly before creasing, and make your creases sharp and clean. This attention to detail early on will pay dividends as we progress through the folding sequence.
The Fold Sequence: Step-by-Step
Let’s get folding! Find your 6-inch square of origami paper. If you’re using double-sided paper, I recommend starting with the color you want to be the main color of your carnation facing *down*.
- Start with your square of paper with the color you want facing down. Bring the bottom edge up to meet the top edge precisely. Crease firmly along the horizontal center. You should now have a rectangle.
- With the paper still folded into a rectangle, bring the right edge over to meet the left edge. Crease firmly along the vertical center. You should now have a smaller square.
- Unfold the last fold you made (the one that brought the right edge to the left). You should have your rectangle back, with a vertical crease.
- Now, bring the top edge down to meet the bottom edge. Crease firmly along the horizontal center. You should have your smaller square back again, but this time with both a horizontal and a vertical crease.
- Unfold the paper completely. You should now have a square with a horizontal and a vertical crease dividing it into four equal smaller squares.
- Turn the paper over so the colored side is facing up.
- Bring the bottom edge up to meet the top edge again. Crease firmly. You now have a rectangle with the colored side facing up.
- Bring the right edge over to meet the left edge. Crease firmly. You now have a smaller square again, with the colored side facing up.
- This is an important step: carefully open up the flaps you just created on the right side. You should see two layers of paper. Gently push the right side inwards along the vertical crease, while simultaneously pulling the top flap down and the bottom flap up, so that the paper flattens into a diamond shape. This is called a “squash fold.” The open edges should be at the top and bottom.
- Rotate the diamond so that the point with the open edges is facing towards you.
- Take the right flap of the top layer and fold its outer edge to meet the center vertical crease. Crease firmly.
- Take the left flap of the top layer and fold its outer edge to meet the center vertical crease. Crease firmly. You should now have a kite shape.
- Flip the entire model over.
- Repeat steps 11 and 12 on this side. Take the right flap of the top layer and fold its outer edge to meet the center vertical crease. Crease firmly.
- Take the left flap of the top layer and fold its outer edge to meet the center vertical crease. Crease firmly. You should now have a kite shape on both sides.
- Look at the top point of your kite shape (the point furthest from you). You’ll see a small triangle sticking up. Fold this triangle down. Crease firmly.
- Flip the model over and repeat step 15 on this side. Fold the small triangle down. Crease firmly.
- Now, look at the two points at the bottom of your model, the ones with the open flaps. Gently open up one of these points. You should be able to see a flap inside. Fold this inner flap upwards as far as it will go, creasing it along the bottom edge of the kite shape.
- Close that flap back down.
- Repeat steps 17 and 18 for the other bottom point. Open it up, fold the inner flap upwards as far as it will go, and crease. Then close it back down.
- Now, carefully take the entire model and perform a mountain fold down the center vertical crease. You are essentially bringing the two sides of your kite shape together.
- You will have a somewhat pointed shape. At the top, you should see two small flaps. Gently pull these two flaps outwards. This is where your petals will start to form!
- Next, we’re going to create the layers of the carnation. Look at the top point of your model. Gently peel back the layers of paper at this point, one by one. As you peel each layer back, curl it slightly outwards to begin shaping the petals. Be gentle!
- Continue peeling and curling each layer outwards. Work your way around the entire top of the model. The more you peel and curl, the fuller and more realistic your carnation will look.
- Once you’ve peeled and curled all the layers, gently adjust the shape of your carnation. You can slightly fluff up the petals or tuck them in a bit to achieve the look you desire.
Common Pitfalls and How to Avoid Them
Even with clear instructions, there are a few spots where beginners often find themselves a little stuck. Let’s address those so you can sail through this project!
Pitfall 1: Messy or Inaccurate Base Folds. This is probably the most common issue. If your initial horizontal and vertical creases aren’t perfectly aligned, or if they’re not creased sharply, the subsequent folds will be off. This can lead to uneven points and a lopsided final model.
How to Avoid It: Be meticulous with those first few steps. Take your time to line up edges and corners exactly before making any crease. Use your fingernail or a bone folder to press down firmly and create sharp, defined lines. Think of these first folds as the foundation of your house – if the foundation is shaky, the whole structure will be compromised.
Pitfall 2: Difficulty with the Squash Fold (Step 9). This step involves transforming a square into a diamond by flattening it. It can feel a bit counterintuitive at first, especially getting it to lie flat.
How to Avoid It: Visualize the crease lines. When you open up the right side, you’re essentially pushing the paper along the existing vertical crease inward. As you do this, the top and bottom edges naturally want to move apart. Help them by guiding the paper to flatten into the diamond shape. Don’t force it; gently coax the paper into position. Once you’ve done it once, it becomes much clearer for the next time.
Pitfall 3: Tearing the Paper When Peeling the Petals (Step 22-23). The thin paper can be delicate, especially when you’re starting to separate and curl the layers for the petals.
How to Avoid It: Patience and a gentle touch are your best friends here. Instead of yanking the paper, try to peel each layer back slowly and deliberately. If you feel resistance, don’t force it. Sometimes, a slight wiggle or a gentle bend can help it separate smoothly. Think of it like opening a delicate flower – you wouldn’t rip its petals off, would you?
Varying Your Carnation
The beauty of origami is its versatility! Once you’ve mastered the basic carnation, you can play around with different looks.
Size Variations
As I mentioned earlier, you can easily change the size of your carnation by simply starting with a different sized square of paper. Larger squares will result in larger, more dramatic carnations, perfect for statement decorations. Smaller squares will yield delicate, dainty flowers, ideal for embellishing cards or creating a cluster of blooms.
Paper Pattern and Color
Don’t limit yourself to solid colors! Experiment with patterned origami paper. Papers with subtle floral prints, gradients, or even textured finishes can add a unique dimension to your carnation. If you’re using double-sided paper, try using a contrasting color on each side. This will create a beautiful layered effect as the different shades peek through the curled petals, mimicking the natural variation in real carnation blooms.
Ideas for Displaying or Gifting
Your finished origami carnations are far too lovely to just put away! Here are some ideas for showcasing your creations.
- Bouquets: Gather several carnations of different colors and sizes and arrange them in a small vase for a stunning, everlasting bouquet.
- Wreaths: Glue your carnations onto a foam or cardboard wreath form for a charming seasonal decoration.
- Gift Toppers: Attach a single carnation to a gift-wrapped package for an elegant and personal touch.
- Table Centerpieces: Create a collection of carnations to serve as a beautiful centerpiece for a dinner party or special occasion.
- Card Embellishments: Glue a small carnation onto handmade greeting cards for an extra special element.
- Garlands: String several carnations together with thin ribbon or thread to create a festive garland.
- Party Favors: For a wedding or shower, consider gifting each guest a small origami carnation as a memorable favor.
I hope you’ve enjoyed this journey into creating origami carnations. Remember, the most important ingredient is patience. Don’t be discouraged if your first few aren’t perfect. Each fold you make is practice, and you’ll get better and better with every flower you create. Happy folding!
Conclusion
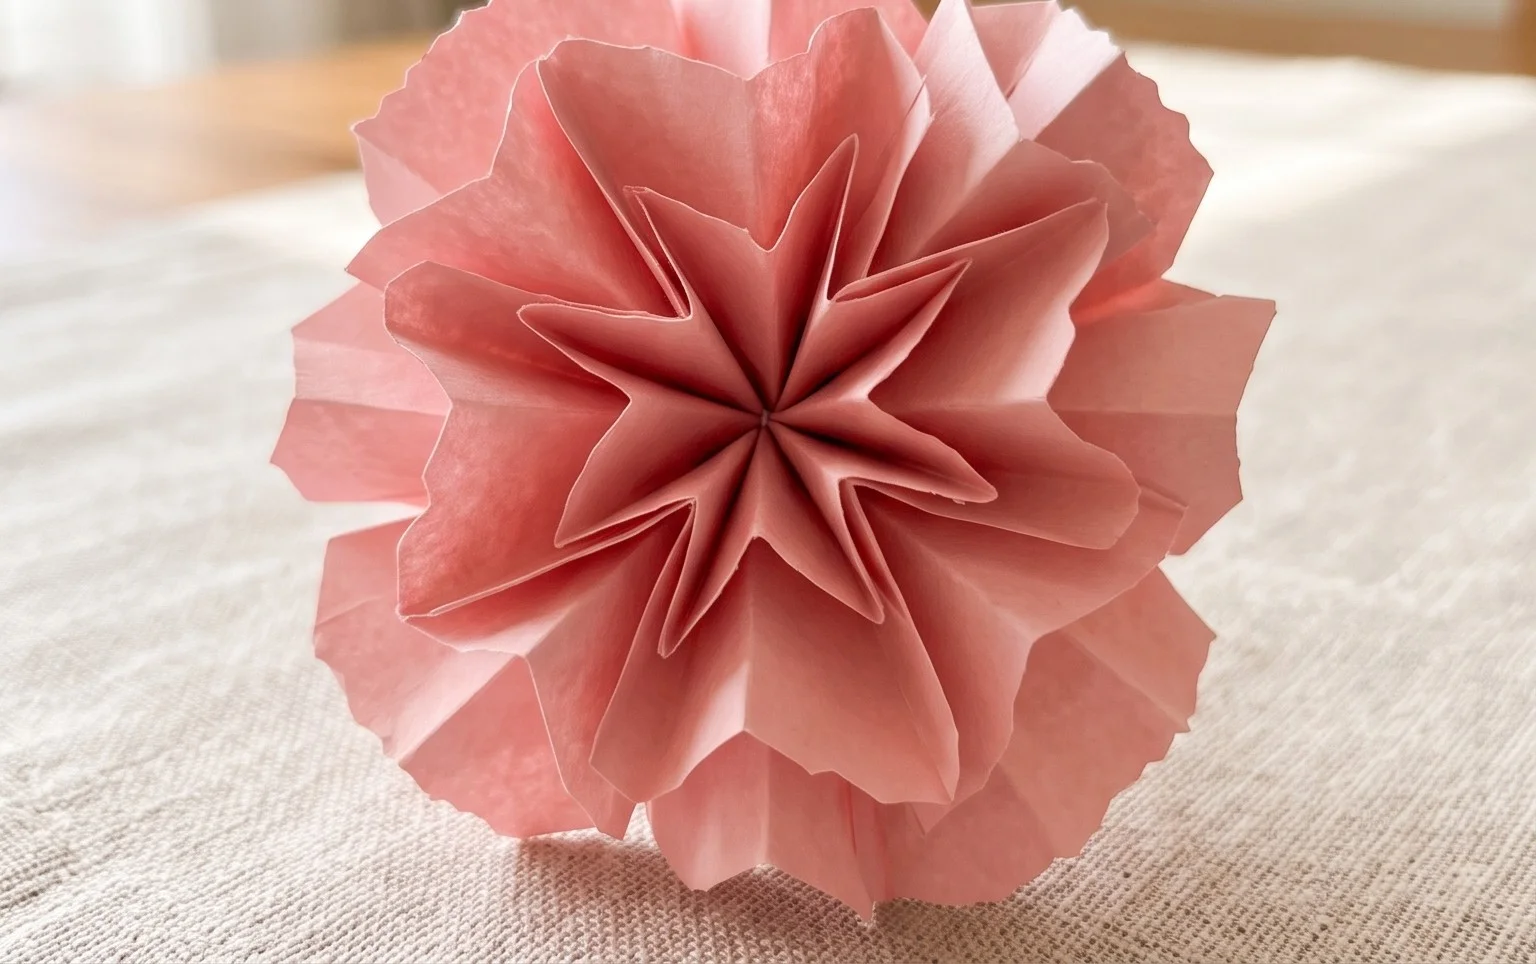
Congratulations on completing your origami carnation! We hope you enjoyed this delightful papercraft journey. Don’t worry if your first attempt isn’t perfect; every fold is a step in learning, and practice truly makes perfect when it comes to origami. We encourage you to share your beautiful creation with friends and family – spread the joy of handmade beauty!
Next Steps:
Once you’ve mastered this classic origami carnation, why not try a few variations? You could experiment with different colored papers to create a bouquet, or perhaps try a smaller scale for delicate accents. Looking for more paper adventures? Explore our collection of other exciting paper projects and continue your creative exploration!
